Back on August 30th this post was over at My Repurposed Life as a Guest Post. How exciting is that?!?! I was totally thrilled to have the opportunity. I wanted to post it here just in case some of you missed it.
Recently when my son was here to visit he told me that the towel bar in my husband's bathroom was getting ready to fall off the wall. I went to check on it and it literally did fall off into my hand!
 |
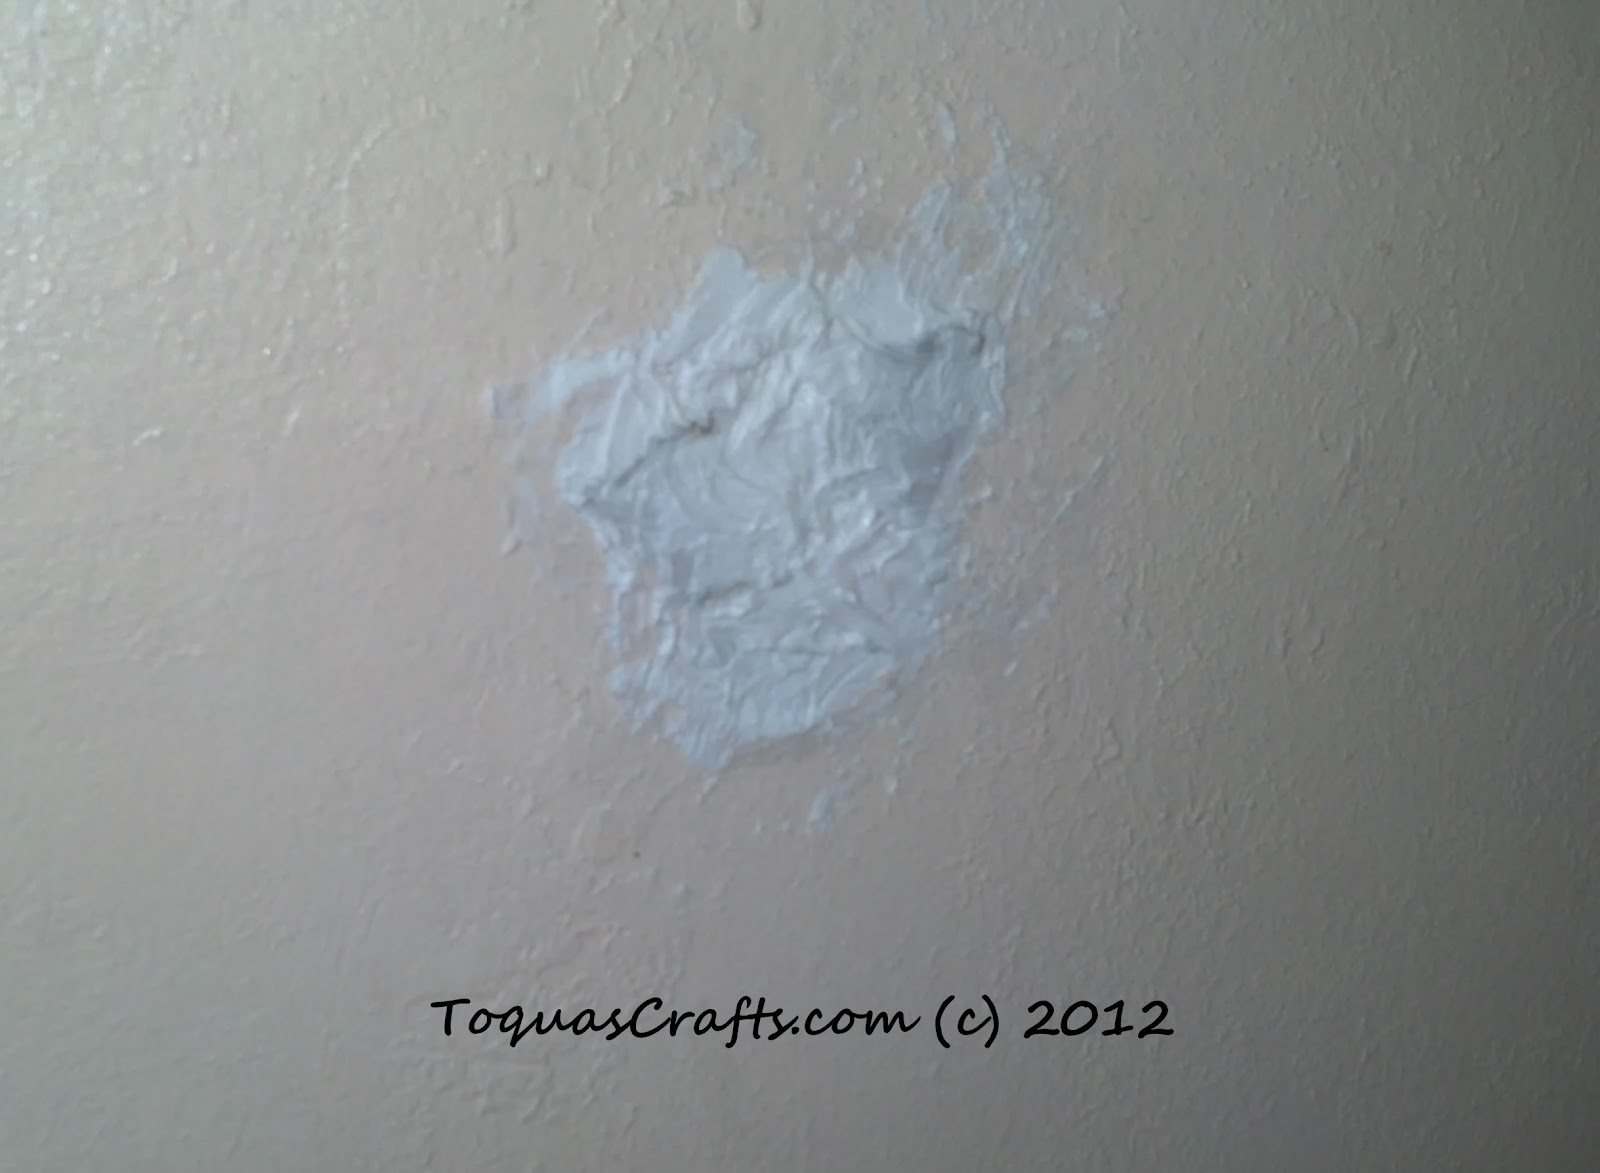
| And it left a hole |
Since I am the maintenance person of the family, it was up to me to fix the hole. I went down to my local Ace and spoke with a very nice gentleman that explained some options to me. I already made up my mind I did not want to use the typical screen patch.
 |
| Here are the things you'll need. The only items I had to buy were the Vinyl Spackling and the dowel for the new rod. |
 |
| You'll only need about 1/3 - 1/2 of a paint stick at a time. Depending on how big your hole is you may need to use a couple of halves. I drilled a couple of holes in the stick. |
 |
| I used yarn, as that is what I had handy, but you could use string, twine, or whatever you have handy. For me it was easiest to thread the yarn in a needle and then thread the yarn through the holes. |
 |
| Add glue to the stick. The glue you use doesn't have to be fancy. Just remember that you're gluing to the paper on the other side of the board. You then stick it through the hole in the wall, pull on the string, and glue the stick to the back of the wall. This keeps the hole patch (spackling) from falling through the hole into the abyss. |
 |
| Pull on the string and keep the stick tight against the back of the wall |
 |
| See that only 1/2 of the hole is covered. I decided I needed another stick. |
 |
| I decided to use the other end of the stick instead of breaking another stick |
 |
| This is after both of the sticks are glued and the glue is drying. I tied the strings together around a piece of the wall that was sticking out... just in case. Once the glue was dry I pulled the strings out and threw them away. |
 |
| Here I've added the vinyl spackling and I'm poking and prodding to make sure it's in all of the crevices |
 |
| The spackling is drying. |
After the spackling dried I sanded it down. While sanding I wore goggles and a face mask. I just hate it when a little tiny piece of dust gets into my eyes! Or it tastes like I'm breathing or eating that dust for a week afterwards. Don't forget: Safety First! The logical side of me tells me that it is IMPOSSIBLE to match the texturing on a wall so I didn't try real hard.
While the spackling was drying I went in search of paint. The previous owners left us 6 - 8 partial gallons of paint in several different colors that were throughout the house. I found nearly EVERY color BUT the color in the bathroom. Go figure! I thought about it and I thought about it. I seriously thought about it for a couple of days. I considered going down to have the paint matched, but we already have so much paint so I decided to... get creative and mix my own paint. I took these three colors and made a new color!
I poured a bit of "C" into the "A" can and stirred and stirred. I decided that was too dark so then I went and searched and found color "B" and added it until I came up with a lighter version. A little of this and a little of that to end up with my own creation! :)
 |
| I painted a swatch on the wall and asked my husband what he thought of
the color. I gave him a couple of days to think about it. Since
obviously I could not match the wall color, I need a color that would
work well with the color. The color I came up with is very close to "flesh" that you would find in a box of color crayons. |
 |
| I taped down a piece of paper on the floor, and covered the mop board with painters tape and painted the one wall. (I was ever so grateful it was only ONE WALL!!) |
 |
| It is hard to tell the difference in the wall color here, the lighting just isn't right. |
 |
| This picture may make it a bit easier to see the color differences |
My husband uses the larger bath towels. The towel rod that was on the wall was not long enough to hold both the towels. I took this opportunity to lengthen the rod. I purchased a 36" long dowel. When doing this the bracket on the right will be behind the door. So, to keep the door from hitting the bracket I needed to extend the door stop.
 |
| To extend the door stop, which was previously at the top of the door, I took a piece of scrap wood, cut it to 1" in width, painted it white, drilled a pilot hole for the door stop, and glued the board onto the door where the door stop was previously. I used clamps to hold it in place until the glue dried. Granted it's not the prettiest fix, but... whoever looks up there anyway? |
While that was drying I stained the dowel that I used for the new rod. (Sorry, no pictures of that step.)
 |
| I've held the door stop against the wall, see... the door clears the bracket. Also, do you see the patch? I can see it, but I know where it is. |
 |
| Here's the covered hole, the new rod, the new paint job, |
 |
| Putting the wall decor back up and hanging the towels. (Our bathrooms are so small I am literally sitting on the sink, with the camera up against the mirror to take this picture.) |
 |
| For this picture I am standing in the shower! You can see the shower curtain rod in the top left of the picture. |
My husband is pleased with the patch job, the paint job, and he likes the longer towel rod. He's never ever mentioned the extension to the door stop... See? Who looks up there anyway? :)
Pin It Now!


This is absolutely some news I can use! Thank you for sharing this technique! i pinned it!
ReplyDelete